Drone photography is awesome. If you want to get into this field then now is a great time. We’ll review some basic things you’ll need to know to make sure you get the most out of your drone.
Drone photographers need to know camera settings, lighting environment, and framing. You also need solid piloting skills and a set of written safety protocols.
Why Drone Photography?
The Association for Unmanned Vehicle Systems International (AUVSI) report forecasts that the number of drones in use will grow from 2.5 million in 2020 to 7 million by 2030.
Drone aerial photography is a new and expanding field within the photography world. Drone photography can be used to capture images of landscapes, buildings, and other objects from a unique perspective.
Applications
Commercial
As drone technology continues to evolve, commercial applications for businesses are increasing. Some of the most common commercial uses of drone photography include filming promotional videos, taking aerial images of construction sites, monitoring agricultural operations, and capturing drone footage of events such as weddings or music festivals.
Furthermore, drone photography can be used to easily document areas that are otherwise hard to access like hazardous environments or terrain with difficult roadways. Drone photography is a cost-effective way for businesses to take advantage of a unique perspective without the need for expensive equipment and resources.
Drone photography is a great business opportunity. For details on starting a drone business see our article “How To Start A Drone Photography Business“
Recreational
Drone photography has a wide range of personal recreational applications. Whether you’re a wildlife enthusiast wanting to capture beautiful images of birds in flight or an outdoor fanatic hoping to climb to new heights with your drone camera, drone photography is perfect for capturing amazing shots that wouldn’t otherwise be possible.
Even if you’re more of a traditionalist who loves taking pictures at sporting events, drone photography brings something special that gets you closer than ever before to the action. And if sunsets are your thing, a drone can help create stunning perspectives delivered with awesome clarity and vibrant colors.
There really is no limit to the creative possibilities drone photography offers keen shutterbugs looking for unique ways to capture life’s special moments through the lens of their drone camera.
Challenges of Aerial Photography
If you are just starting out in drone photography, or even if you have been at it for a while, there are some drone photography tips that will help you take your pictures to the next level.
Drone photography presents many unique challenges compared to ground photography. From drone operators needing to abide by complex aviation regulations and airspace restrictions to the unpredictable nature of wind and weather, drone photographers find themselves in a very different space than traditional photographers.
Learning to fly a drone can be challenging. Drone operation requires a great deal of practice to master; even experienced drone pilots continue to hone their craft as they navigate more challenging environments. To start flying a drone safely and confidently, users should first familiarize themselves with the drone’s operating manual.
Despite these challenges, drone photography is becoming increasingly popular and drone technology is rapidly advancing, helping professionals to overcome any obstacles that arise.
Drone Photography Basics
In this blog post, we will go over five practical tips for drone photography. These tips will help you get more from your aerial photos and can be applied whether you are shooting for personal use or for commercial projects.
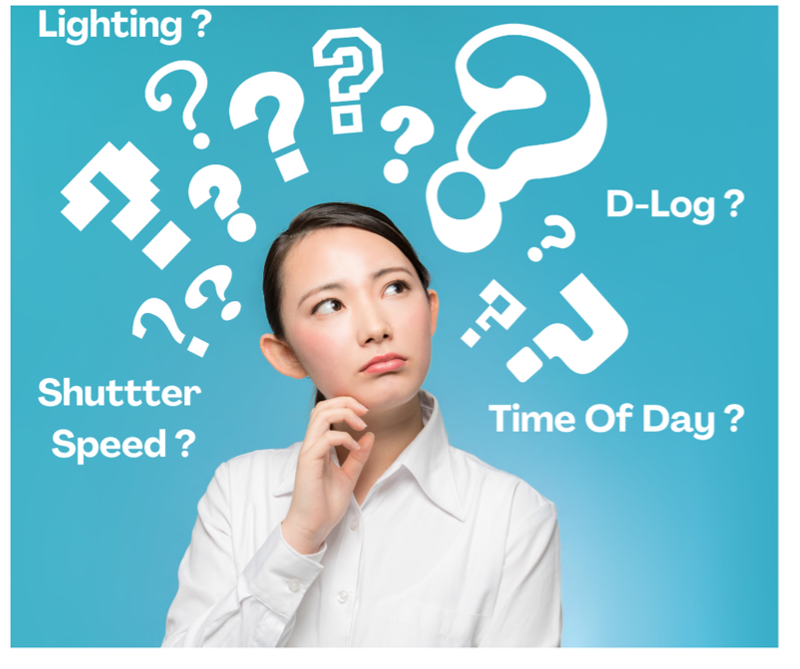
Camera Settings
Auto-Exposure bracketing (AEB)
One of the most useful features of drone photography is auto-exposure bracketing. This allows the drone’s camera to take multiple exposures at different settings, giving the photographer a range of options to choose from when editing.
This can be especially helpful in tricky lighting situations. By using AEB, photographers can be sure to capture the perfect shot, no matter what the conditions may be.
Simply select the AEB mode on your camera and let the drone do the rest. With auto-exposure bracketing, you’ll never have to worry about underexposing or overexposing your photos.
Raw vs JPEG
One of the most common questions that new drone photographers have is whether they should shoot in raw or JPEG format, each has its own advantages and disadvantages.
- Shooting in the raw format gives drone photographers more flexibility when it comes to post-processing their images. Raw photos contain all the data that was captured by the camera’s sensor, and this data can be manipulated to create a variety of different looks.
- JPEGs, on the other hand, are already compressed and ready to be used. This means that there is less room for error when editing JPEGs, but it also means that there is less flexibility.
In general, raw files are better for drone photography because they give photographers more control over the final product. However, JPEGs can be a good option for those who are just starting out or who don’t want to spend a lot of time in the post-production of their final image.
Luckily most drones have the ability to shoot raw and jpeg for each photo.
Normal vs D-Log
There are two main format camera settings for drone photography: D-Log and Normal.
- D-Log is a logarithmic image format that captures a wider range of colors and tones. This makes it ideal for drone photography, as it allows you to capture the full beauty of the landscape. However, D-Log also requires more processing power, and it can be difficult to convert into other formats.
- Normal mode, on the other hand, is easier to use and doesn’t require as much processing power. However, it doesn’t capture the full range of colors and tones, which can make your drone photos look flat.
Ultimately, the best mode for drone photography depends on your personal preferences and needs. If you’re looking to capture the full beauty of the landscape, then D-Log is the best choice.
However, if you’re looking for an easier option that doesn’t require as much post-production, then the normal mode is the way
Shutter Speed
To take great aerial shots, it is important to understand shutter speed. Shutter speed is the amount of time that the camera’s shutter is open while taking a photo.
- A faster shutter speed will result in a shorter exposure time, which means that less light will reach the camera sensor. This can be beneficial when photographing moving objects, as it will help to freeze the motion.
- A slower shutter speed will have a longer exposure time, allowing more light to reach the sensor. This can be helpful when photographing stationary objects or when trying to create a sense of movement in a photo. Experimenting with different shutter speeds is the best way to find the perfect setting for each situation.
The exposure meter indicates overall image exposure, a value between +0.3 and -0.3 is best. The exposure meter is an essential tool for any photographer looking to get better image quality.
Environment
Golden Hour
One of the best times to use a drone camera is during the golden hour, which is the period of time just after sunrise or just before sunset when the light is soft and warm. The golden hour is often considered the best time for drone photography, as the low light can help to create beautiful photos and videos.
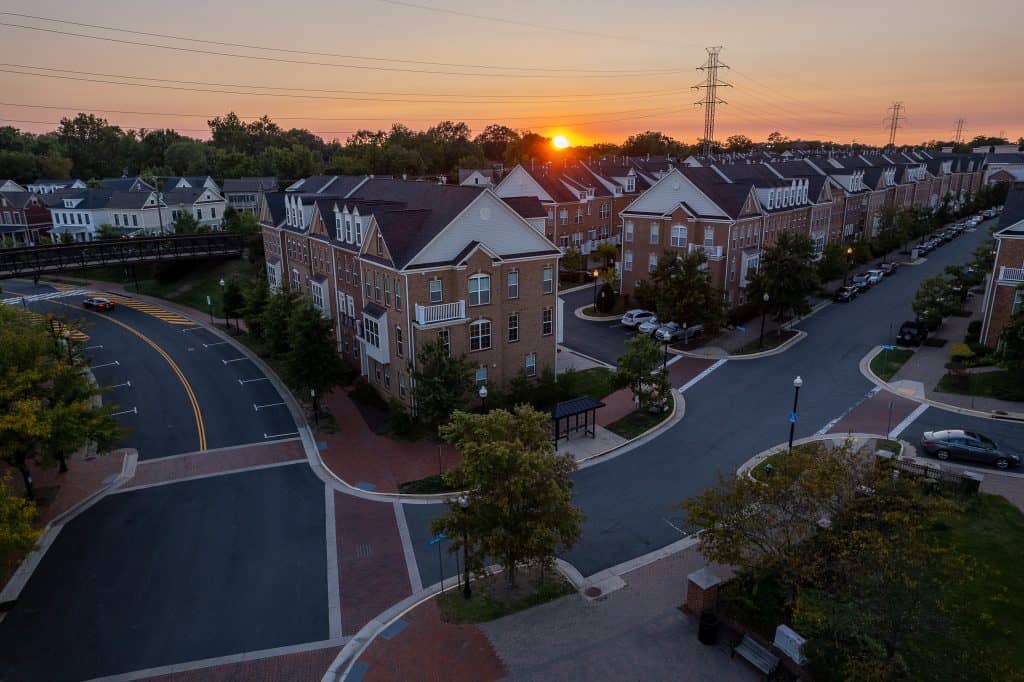
Taking aerial images during the golden hour can be especially stunning, as the warmth of the sun can help to bring out the colors and textures of the landscape to create truly stunning images.
Harsh Light
When obtaining aerial images one of the challenges to drone photography is harsh sunlight. The sun’s rays can cause glare and wash out colors, making it difficult to get a clear and vibrant image. To combat this, special neutral density filters are used to reduce the amount of sunlight that enters the lens.
Another option is to obtain aerial images early in the morning or late in the evening when the sun is not as high in the sky. By paying attention to the lighting conditions, you can make sure that your aerial photos have the best image quality.
Sun Position
One of the most popular drone photography techniques is to position the sun behind the subject. This creates a dramatic backlit effect that can add depth and dimension to an otherwise ordinary photo.
In order to get the best results, it is important to position the drone so that the sun is just out of frame. This will ensure that the subject is properly illuminated without washing out the rest of the image. With a little practice, anyone can capture stunning Drone photos. So next time you’re doing drone photography, make sure the sun is behind you for the aerial images.
Shots
Birds Eye Shot
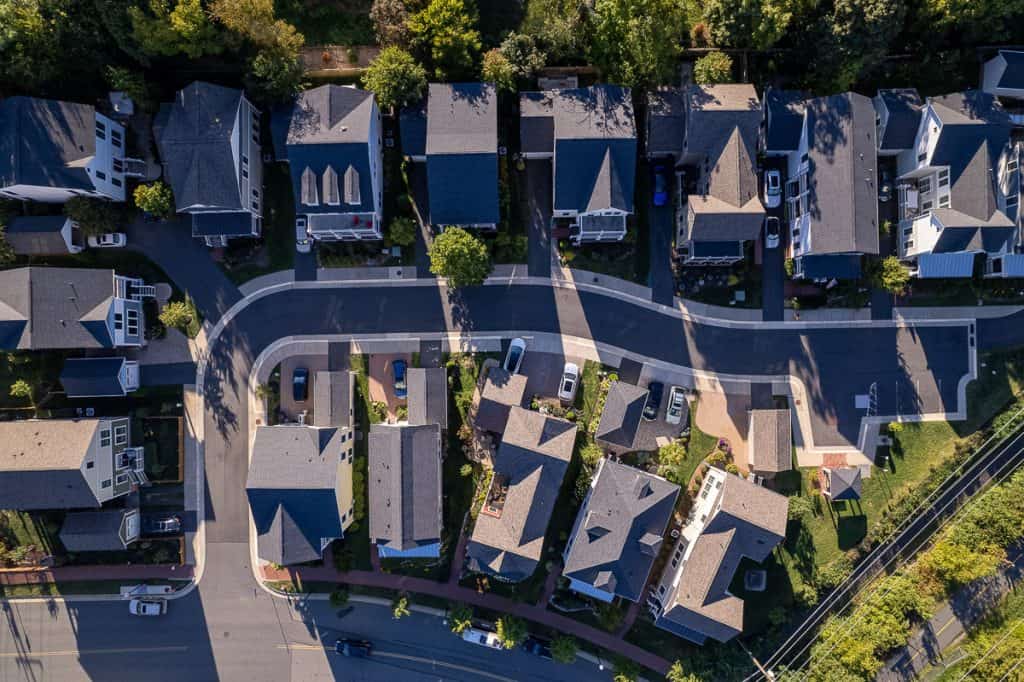
This is an aerial photograph taken directly above the subject. This perspective can be used to capture the grandeur of landscapes or the intricate details of cityscapes. It can also be used to highlight the relationships between different elements in a scene.
Ground level
Drones also capture ground-level shots that provide unique perspectives on a familiar scene. In addition, drones can fly in tight spaces and over obstacles, giving you access to previously inaccessible locations.
Oblique Shot
Oblique shots are taken with the gimbal pointed at an angle. This type of shot highlights features of a landscape and shows the scale of a scene. Drone technology is perfect for capturing oblique shots at different heights.
Photography Stuff
Rule of 3rds
The rule of thirds is a basic principle of composition that suggests dividing an image into thirds, both horizontally and vertically, and placing the subject of the photo along those lines or at the intersections. This creates more interest and movement in the image, as well as a more pleasing overall composition.
Angles
The angle of the camera can have a big impact on the overall look and feel of a photograph. For example, a low angle can make a subject look bigger and more imposing, while a high angle can make them look smaller and more vulnerable.
In addition, the background adds context and depth to a photo. By carefully considering all these factors, drone photographers can ensure that they take photos that are both aesthetically pleasing and meaningful.
Framing
One important element of drone photography is framing. When framing a photograph, the artist considers the placement of objects within the frame to create a certain effect. For instance, they may choose to use leading lines to guide the viewer’s eye toward the subject of the photo.
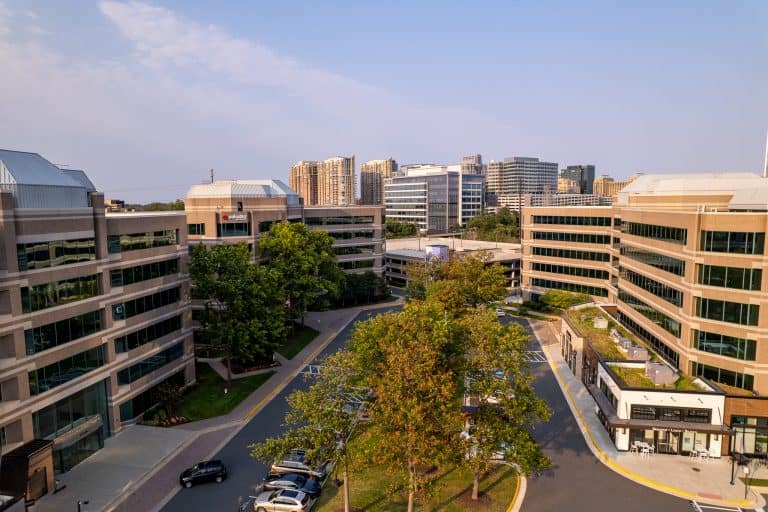
They may also use contrast or symmetry to create a more visually interesting composition. By taking the time to frame their photographs carefully, photographers can produce the best image quality.
Mission Planning
Pre-Mission
Before starting on a drone photography mission, it is important to do some planning to ensure a successful flight.
- First, it is essential to choose the right time of day for the shoot. The lighting conditions can have a big impact on the quality of the photos and videos, so it is important to select a time that will provide the desired effect.
- Second, it is important to familiarize oneself with the area where the flight will take place. This will help to avoid any potential hazards and to identify the best location for taking photos or videos.
- Finally, it is important to properly calibrate the drone and have
Safety Protocols
There are some safety protocols that drone photography enthusiasts should follow to ensure safe and successful flights.
- Fly in good weather conditions and avoid flying near obstacles such as power lines or trees.
- Always keep your drone within sight and be aware of other aircraft in the area. Fourth avoid flying your drone over crowds of people or populated areas.
- Be aware of your surroundings and avoid flying near buildings or power lines.
- Make sure you have the proper insurance in place in case of an accident.
- Always follow the manufacturer’s recommended flight procedures.
Plan Shots
Before you take off, spend some time planning your composition. It takes some planning and practice to get good results.
First, you need to choose the right drone for the job. There are a number of factors to consider, such as camera quality, flight time, and range. Once you have the right drone, it’s time to start planning your shots. Think about the composition of the shot and what elements you want to include. We like to use the DJI Air 2S drone for most of our photography jobs. For a comparison of different drones see our article “DJI Air 2S vs Competitors: Return on Investment“
Then, map out a flight plan that will allow you to get the shots you want. Finally, practice flying your drone before you attempt to take any photos.
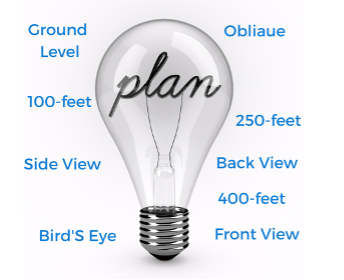
What do you want your photo to capture? What’s the best way to frame it? Once you have a clear idea of what you want your drone shots to look like, you’ll be able to better plan your drone images.
Authorization
Before you can start taking aerial photos, you will some certification from the FAA t fly your drone. For details see our article “Do You Need A License To Fly A Drone“
You will also need to obtain authorization from the Federal Aviation Administration (FAA). Drone flight authorization is a process that involves submitting a request to the FAA, providing specific information about your planned flight, and obtaining a certification from the agency.
The process can be time-consuming, but it’s important to ensure that you are following all relevant regulations. Once you have obtained authorization, you will be able to enjoy the unique perspective that drone photography offers.
As you can see, there is a lot to think about when it comes to drone photography.
We would be happy to discuss your needs and see how we can help you get the most out of aerial imagery. Questions about how to start your business? Check out our blog “How To Start A Drone Business (Part-1)”.
Looking for a cost-effective way to get aerial imaging, mapping, or inspection services? We help start your in-house drone program. Give Us A Call!
Lightwave Aerial is a professional drone service company based in Northern Virginia. Our pilots are all FAA Part-107 certified. We offer a full range of aerial photo/video production services, aerial mapping, and aerial inspection.
At Lightwave Aerial, we are dedicated to providing professional drone services that help our clients achieve their goals. Contact us today to find out more about how we can help you with your next construction project!

